Honey-glazed Ham Sliders
Highlighted under: Feel-Good Food Ideas
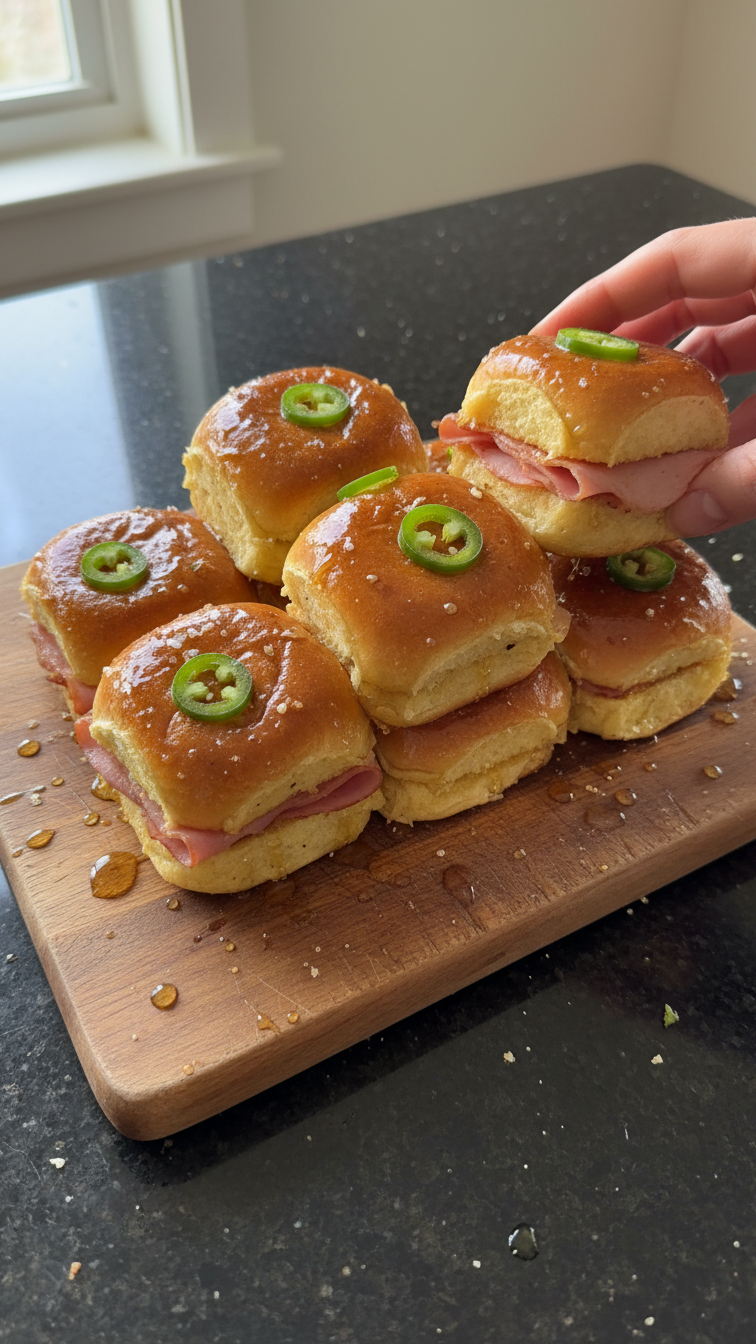
I absolutely love making Honey-glazed Ham Sliders for gatherings! They’re the perfect combination of sweet, savory, and utterly delicious. The honey glaze caramelizes beautifully in the oven, giving each slider a mouthwatering finish. I enjoy preparing these sliders not just for their fantastic taste, but also for how easy they are to put together. You can even assemble them ahead of time, making them a stress-free option for parties or family dinners. Trust me, once you try these sliders, they’ll become a staple in your home!
When I first tried making honey-glazed ham sliders, I was amazed at how simple and quick they were to prepare. I decided to add a touch of Dijon mustard to the glaze, which gave the sliders a delightful zing that perfectly complemented the sweetness of the honey. Watching my friends devour them at a barbecue was incredibly satisfying!
Over time, I found that toasting the slider buns before assembling created an unbeatable texture. It gives them a nice crunch that pairs well with the juicy ham. This little tweak has made all the difference in elevating these sliders from good to simply spectacular.
Why You'll Love These Sliders
- Irresistibly sweet and savory honey glaze
- Perfect for any gathering or casual dinner
- Easy to make ahead for stress-free entertaining
The Role of the Honey Glaze
The honey glaze is what truly elevates these ham sliders. It combines the sweetness of honey with the tangy depth of Dijon mustard, creating a balance that enhances the savory flavor of the ham. The melted butter adds richness, while also ensuring that the glaze adheres well to the sliders, ensuring even coverage once baked. This combination not only adds taste but also creates a glossy finish that makes the sliders visually appealing.
To achieve the best caramelization, it's important to apply the honey glaze generously but evenly. During baking, as the heat works its magic, the sugars in the honey will caramelize, creating a slightly sticky texture that keeps the sliders moist and flavorful. Keep an eye on the sliders during the final baking stage; the tops should be golden brown, indicating that the glaze has reached the perfect stage of sweetness.
Perfect Pairings and Serving Suggestions
While these Honey-glazed Ham Sliders shine on their own, consider complementing them with a vibrant side salad or a medley of roasted vegetables. The freshness of a crisp side salad balances the richness of the sliders beautifully. I recommend a simple vinaigrette or even a fruity dressing to enhance the overall flavor experience. If you're feeling adventurous, think about adding pickles or spicy mustard as toppings for an extra kick.
For hosting a gathering, you might want to present the sliders on a stylish platter, garnished with fresh herbs or small bowls of dipping sauces. A honey mustard or BBQ sauce would work well and provide an opportunity for customization. Alternatively, a selection of different cheeses can be used in place of Swiss to create flavor variations—think sharp cheddar or pepper jack for an extra zest!
Ingredients
For the Sliders
- 12 slider buns
- 1 pound cooked ham, sliced
- 8 ounces Swiss cheese, sliced
- 1/2 cup honey
- 2 tablespoons Dijon mustard
- 3 tablespoons butter, melted
- 1 teaspoon poppy seeds
Be sure to gather all your ingredients before starting to ensure a smooth preparation process.
Instructions
Preheat the Oven
Preheat your oven to 350°F (175°C).
Prepare the Honey Glaze
In a small bowl, mix together the honey, Dijon mustard, and melted butter.
Assemble the Sliders
Slice the slider buns in half and place the bottom halves in a baking dish. Layer the ham and Swiss cheese on top, then drizzle half of the honey glaze over the cheese.
Add the Top Buns
Place the top halves of the buns on the sliders, and brush the remaining honey glaze over them. Sprinkle poppy seeds on top.
Bake
Cover the dish with aluminum foil and bake for 15 minutes. Remove the foil and bake for an additional 5 minutes or until the cheese is melted and the tops are golden brown.
Serve
Remove from the oven, let cool slightly, and serve warm.
Enjoy the sliders warm for the best flavor, and feel free to get creative with the toppings!
Pro Tips
- To add a little extra flavor, consider adding sliced pickles or jalapeños inside the slider for a kick.
Make-Ahead Tips
Preparing these sliders ahead of time is not only feasible but also encouraged! You can assemble the sliders a day in advance, wrapping the entire dish tightly in plastic wrap and storing it in the refrigerator. When you're ready to bake them, simply remove the wrap, brush with additional honey glaze, and proceed with baking as directed. This allows the flavors to meld, making for even tastier sliders that are perfect for entertaining.
If you have leftovers, they can be stored in an airtight container in the refrigerator for up to 3 days. To reheat, simply wrap them in foil and bake at 350°F (175°C) for about 10-15 minutes until heated through. This method keeps them from drying out, ensuring that every bite is just as delicious as the first.
Common Troubleshooting Tips
One common issue when making sliders is if the buns become too soggy from the glaze. To combat this, consider lightly toasting the slider buns before assembling. This creates a barrier that can help keep them from absorbing too much moisture. Another tip is to ensure that you don't overload the sliders with glaze—just enough to coat without soaking. Adjusting the honey and mustard ratio can also help find the right balance for your preference.
If you find that the cheese is not melting as desired, it may be due to the broiling time. After the initial bake, I recommend turning on the broiler for the last 1-2 minutes to create that deliciously gooey cheese texture. Just keep a close watch to prevent burning; the sliders should be uniform and evenly browned.
Questions About Recipes
→ Can I use other types of cheese?
Absolutely! Cheddar or provolone would also work great in this recipe.
→ How can I store leftovers?
Store any leftover sliders in an airtight container in the refrigerator for up to 2 days.
→ Can I make these sliders ahead of time?
Yes! You can assemble them and keep them in the fridge, covered, for up to a day before baking.
→ What can I serve with these sliders?
They pair well with a simple salad, roasted vegetables, or even potato chips for a casual meal.
Honey-glazed Ham Sliders
Created by: The Anna's Tasty Table Team
Recipe Type: Feel-Good Food Ideas
Skill Level: Easy
Final Quantity: 12 sliders
What You'll Need
For the Sliders
- 12 slider buns
- 1 pound cooked ham, sliced
- 8 ounces Swiss cheese, sliced
- 1/2 cup honey
- 2 tablespoons Dijon mustard
- 3 tablespoons butter, melted
- 1 teaspoon poppy seeds
How-To Steps
Preheat your oven to 350°F (175°C).
In a small bowl, mix together the honey, Dijon mustard, and melted butter.
Slice the slider buns in half and place the bottom halves in a baking dish. Layer the ham and Swiss cheese on top, then drizzle half of the honey glaze over the cheese.
Place the top halves of the buns on the sliders, and brush the remaining honey glaze over them. Sprinkle poppy seeds on top.
Cover the dish with aluminum foil and bake for 15 minutes. Remove the foil and bake for an additional 5 minutes or until the cheese is melted and the tops are golden brown.
Remove from the oven, let cool slightly, and serve warm.
Extra Tips
- To add a little extra flavor, consider adding sliced pickles or jalapeños inside the slider for a kick.
Nutritional Breakdown (Per Serving)
- Calories: 320 kcal
- Total Fat: 15g
- Saturated Fat: 8g
- Cholesterol: 45mg
- Sodium: 700mg
- Total Carbohydrates: 32g
- Dietary Fiber: 1g
- Sugars: 10g
- Protein: 12g