King’s Hawaiian Cheesecake Danish: An Incredible Ultimate Recipe
King’s Hawaiian Cheesecake Danish Recipe is a delightful combination of fluffy cheesecake filling and soft, sweet dough. This recipe takes inspiration from the famous King’s Hawaiian rolls, known for their rich flavor and light texture. The result is an indulgent treat that is perfect for breakfast, brunch, or dessert. With its beautiful presentation and incredible taste, this cheesecake Danish will leave your family and friends in awe.
The King’s Hawaiian Cheesecake Danish is more than just a pastry; it is a warm hug for your taste buds. With the rich cream cheese filling nestled inside lightly sweetened bread, every bite offers a dreamy experience. The rich flavors meld seamlessly, delivering a symphony of sweetness that dances on your palate. Whether you’re sharing it at a festive gathering or enjoying it alone with a cup of coffee, this recipe is sure to impress.
This King’s Hawaiian Cheesecake Danish is not just suitable for special occasions; it is quick enough for a weekday treat. In this guide, you’ll learn everything from the preparation steps to the ingredients needed to create this incredible Danish. Each step is designed to help you master the process, making it suitable for cooks of all skill levels. Your journey into the world of baking with the King’s Hawaiian Cheesecake Danish starts here!
Why You’ll Love This Recipe
The King’s Hawaiian Cheesecake Danish is a beloved recipe for many reasons. Below are some compelling points to consider when deciding to whip up this delightful treat:
1. Unique Flavor Combination: The sweet dough pairs perfectly with the creamy cheesecake filling, creating a unique balance.
2. Easy to Make: The steps are simple to follow, ensuring success for both novice and experienced bakers alike.
3. Incredible Versatility: This Danish can be enjoyed for breakfast, brunch, or dessert, making it suitable for any occasion.
4. Eye-Catching Presentation: The golden hue and fluffy texture make it visually appealing, perfect for impressing guests.
5. Comforting and Satisfying: The combination of softness and creaminess creates a comforting dessert experience that warms the heart.
6. Family-Friendly: Everyone in the family will love this treat, making gatherings and everyday moments more special.
With all these tempting features, it’s clear why the King’s Hawaiian Cheesecake Danish is a hit among many. The flavors are comforting, satisfying, and a little bit indulgent!
Preparation and Cooking Time
Creating this mouth-watering King’s Hawaiian Cheesecake Danish takes approximately 1 hour and 30 minutes from start to finish. Here’s how the time breaks down:
– Preparation Time: 20 minutes
– Cooking Time: 30-35 minutes
– Cooling Time: 20-30 minutes
These times may fluctuate slightly based on your experience and kitchen equipment, but they provide a good framework to follow as you embark on this baking adventure.
Ingredients
– 2 cups all-purpose flour
– 1 cup King’s Hawaiian rolls (roughly chopped)
– 1/2 cup granulated sugar
– 1/2 cup cream cheese, softened
– 1/4 cup sour cream
– 1 egg
– 1 teaspoon vanilla extract
– 1/2 teaspoon baking powder
– 1/4 teaspoon salt
– 1 egg wash (1 egg mixed with 1 tablespoon of water, for brushing)
– Powdered sugar, for dusting (optional)
Step-by-Step Instructions
Here’s how to create the delicious King’s Hawaiian Cheesecake Danish in just a few simple steps:
1. Preheat the Oven: Preheat your oven to 350°F (175°C). Prepare a baking sheet lined with parchment paper.
2. Prepare the Bread: Take the chopped King’s Hawaiian rolls and toss them in a bowl with sugar. Let them sit for 10 minutes until they soften.
3. Make the Cheesecake Filling: In another bowl, combine softened cream cheese, sour cream, egg, vanilla extract, baking powder, and salt. Mix until smooth and creamy.
4. Create the Dough: Add the softened King’s Hawaiian rolls to the cheesecake mixture. Stir gently to combine until the mixture is moist but not overly mushy.
5. Shape the Danish: On a floured surface, roll out the dough into a rectangle. Cut slits along the edges, making sure not to cut to the center.
6. Fill with Cheesecake: Spread the cheesecake filling down the center of the rectangle, leaving enough space for the edges to fold.
7. Fold Over the Edges: Gently fold the slits over the filling, alternating sides to create a braided effect.
8. Brush with Egg Wash: Carefully brush the Danish with the egg wash to achieve a beautiful golden brown finish while baking.
9. Bake: Place the Danish in the preheated oven and bake for 30-35 minutes or until golden brown.
10. Cool: Remove from the oven and allow the Danish to cool on a wire rack for 20-30 minutes.
11. Dust with Powdered Sugar: Before serving, sprinkle the top with powdered sugar for an added touch of sweetness.
By following these straightforward instructions, you will achieve a delicious King’s Hawaiian Cheesecake Danish, guaranteed to impress anyone who tastes it!
How to Serve
When it comes to serving the King’s Hawaiian Cheesecake Danish, consider the following tips to elevate the experience:
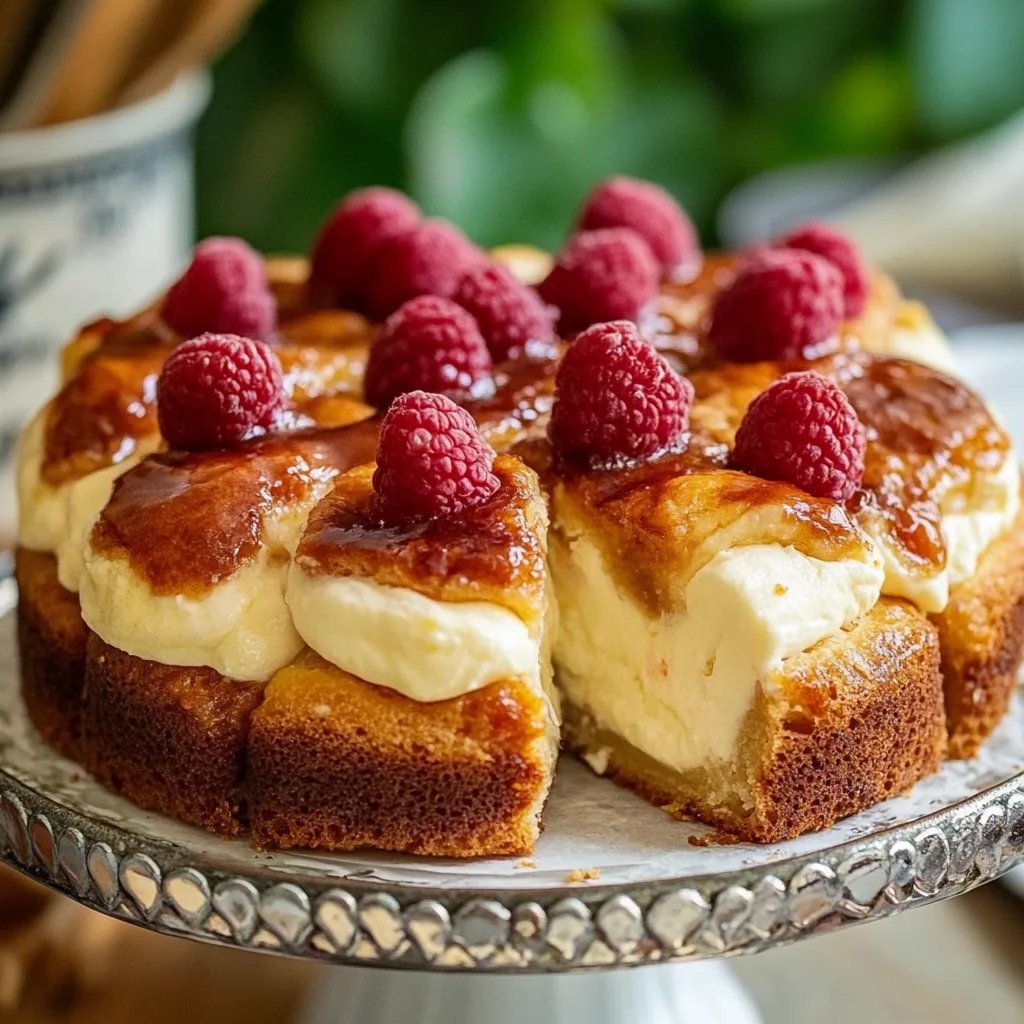
1. Presentation: Serve the Danish on an elegant plate or cake stand. Accompany it with fresh berries for a splash of color.
2. Beverage Pairing: Complement the sweetness with a cup of coffee, tea, or a glass of iced milk for a balanced experience.
3. Temperature: This Danish can be served warm or at room temperature, depending on personal preference. Both options are delightful!
4. Add Toppings: Try drizzling some caramel or chocolate sauce over the top for an extra touch of decadence.
5. Slice Generously: Ensure slices are generous but manageable. This encourages guests to come back for seconds!
By following these serving suggestions, you’ll create a memorable moment for yourself and your guests, making every bite of the King’s Hawaiian Cheesecake Danish a highlight of the gathering!
Additional Tips
– Use Room Temperature Ingredients: Ensure that your cream cheese and egg are at room temperature. This helps achieve a smooth and creamy cheesecake filling.
– Experiment with Flavors: You can add lemon zest or almond extract to the cheesecake filling for a flavor twist.
– Let it Cool: Allow the Danish to cool completely before dusting with powdered sugar. This prevents it from melting into the cheesecake filling.
Recipe Variation
Feel free to get creative! Here are a few delicious variations to try:
1. Berry Swirl: Before baking, swirl in some fresh or frozen berries into the cheesecake filling for a fruity surprise.
2. Chocolate Chip: Stir in some mini chocolate chips into the filling for an extra pop of flavor and texture.
3. Nutty Addition: Sprinkle chopped nuts like pecans or walnuts on top before baking for added crunch and flavor.
Freezing and Storage
– Storage: Keep the Danish covered in the refrigerator for up to 3 days. Reheat it for a few minutes before serving to enjoy it warm.
– Freezing: You can freeze the Danish for up to 2 months. Wrap it well in plastic wrap and place it in an airtight container. Thaw overnight in the fridge before enjoying.
Special Equipment
Having the right tools makes the baking process smoother. Here’s what you’ll need:
– Mixing bowls for preparing the dough and filling
– Rolling pin for shaping the dough
– Baking sheet lined with parchment paper for easy cleanup
– Wire rack for cooling the Danish after baking
– Pastry brush for applying the egg wash
Frequently Asked Questions
What if my dough is too sticky?
If your dough is too sticky, add a little more flour, a tablespoon at a time, while mixing until it’s manageable.
Can I substitute different types of cheese?
Yes! You can mix cream cheese with ricotta cheese or mascarpone for a different flavor profile.
How do I know when the Danish is done baking?
The Danish is ready when it’s a deep golden brown color and has puffed up. A toothpick inserted in the center should come out clean.
Can I make this recipe gluten-free?
Absolutely! Use a gluten-free flour blend instead of all-purpose flour for a gluten-free version.
Can I prepare the dough ahead of time?
You can prepare the dough a day in advance, wrap it tightly, and store it in the refrigerator until you’re ready to bake.
Conclusion
The King’s Hawaiian Cheesecake Danish is a delightful treat that combines the fluffy sweetness of King’s Hawaiian rolls with a rich, creamy cheesecake filling. Its mouthwatering flavor and irresistible aroma will fill your kitchen with warmth, making it perfect for any occasion. Whether enjoyed fresh out of the oven or at room temperature, this Danish is sure to become a cherished recipe in your baking repertoire. With its versatility and ease of preparation, you’ll find yourself making it time and again for family gatherings, brunch with friends, or simply as a well-deserved treat for yourself.