Frozen Yogurt Cookie Cups
Highlighted under: Sweet Cravings Bakery
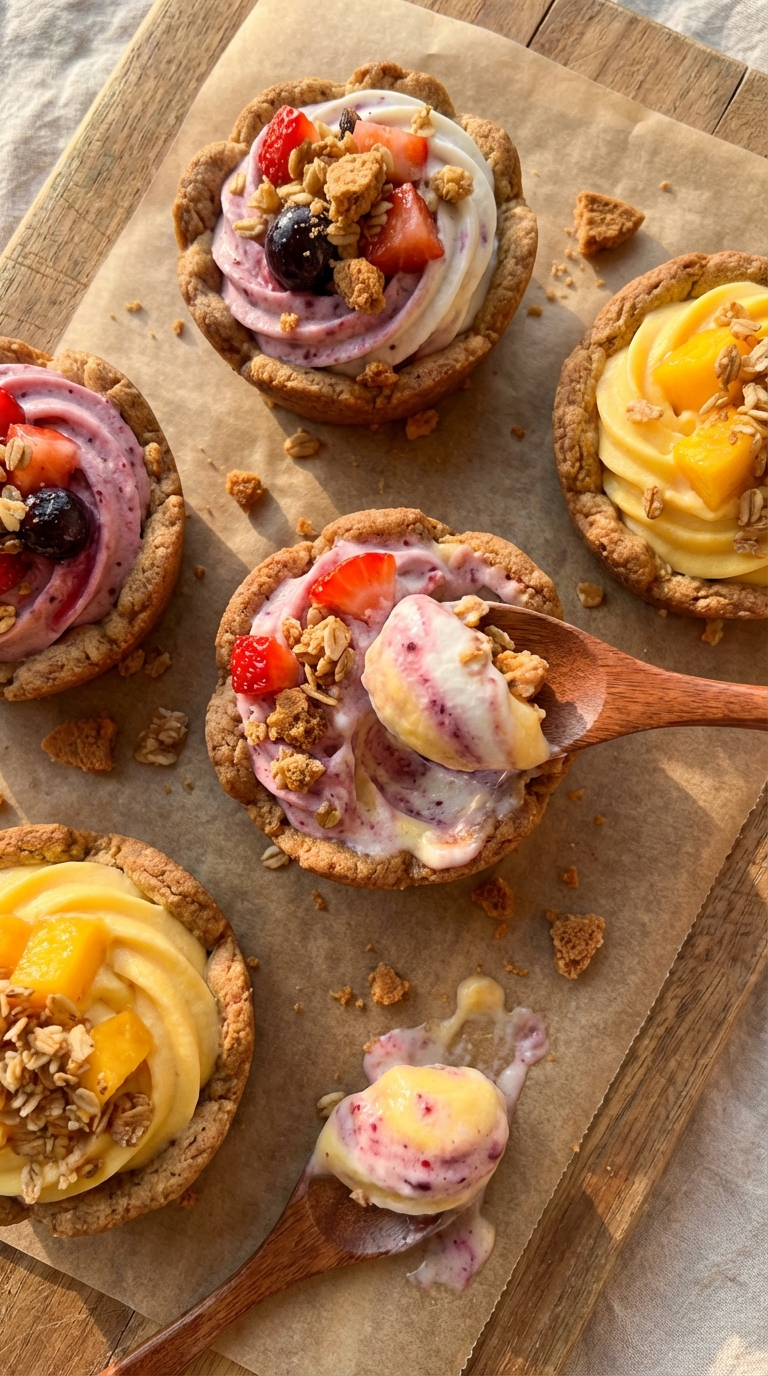
I absolutely love making Frozen Yogurt Cookie Cups for warm days or as a delightful treat anytime. These cups combine crunchy cookie crusts with creamy frozen yogurt that just melts in your mouth. It's a fun and simple recipe that allows for plenty of customization with toppings and flavors. Whenever I make these, I enjoy experimenting with different yogurt flavors and adding fresh fruits or sprinkles on top. Trust me, these cookie cups will be a hit with family and friends, perfect for warm weather gatherings!
Creating these Frozen Yogurt Cookie Cups was a delightful experiment in my kitchen! I started with a basic cookie dough recipe but opted to bake them in muffin tins for the perfect little cups. The key here is to slightly underbake the cookie crusts so they remain soft and pliable enough to hold the yogurt.
When it came to filling, I went with vanilla yogurt and topped them with fresh berries. The contrasting textures of the crispy cookie and creamy yogurt create a wonderful treat that's both satisfying and refreshing. I highly recommend letting them freeze for a bit longer before serving!
Why You Will Love These Cookie Cups
- Decadent cookies meet creamy yogurt for a delicious treat
- Customizable with various flavors and toppings
- Perfect for summer gatherings or as a quick dessert
Cookie Crust Insights
The cookie crust serves as the delightful foundation for these Frozen Yogurt Cookie Cups, providing a satisfying crunch that contrasts beautifully with the creamy yogurt filling. To achieve the ideal texture, ensure your butter is softened but not melted; this step is crucial for proper creaming with the sugar, which incorporates air and creates a light structure. When shaping your cups, aim for even thickness on the edges to avoid cracking during baking.
If you want to experiment with flavors, consider substituting part of the all-purpose flour for almond flour, which adds a nutty flavor, or stirring in some cocoa powder for a chocolatey base. Remember, if you make these adjustments, you may need to slightly alter baking time, so keep an eye on them and look for those golden edges as your visual cue for doneness.
Yogurt Filling Variations
The versatility of the yogurt filling opens up countless opportunities for customization! While vanilla yogurt provides a great base, feel free to swap it out for fruit-flavored varieties like strawberry or peach for an extra burst of flavor. Additionally, if you're looking to reduce sugar or calories, opt for a low-fat or non-fat yogurt—it will still yield a deliciously creamy result when frozen, thanks to its natural thickness.
For a fun twist, consider layering different flavored yogurts or swirls of fruit puree within your cups. Mixing in a bit of lemon zest can provide a refreshing tang that complements the sweetness of the fruit toppings. This creativity can make each bite a new experience!
Storing and Serving Tips
These Frozen Yogurt Cookie Cups can be made ahead of time and stored in the freezer, making them perfect for quick dessert options. Once assembled, cover them tightly with plastic wrap or place them in an airtight container to prevent freezer burn. They can be stored for up to two weeks—just remember to allow them to soften for a few minutes at room temperature before serving, so they are easy to bite into.
When serving, consider a decorative touch by drizzling melted chocolate or caramel sauce over the top before adding your favorite toppings. Fresh mint leaves or even edible flowers can elevate the presentation, making them ideal for summer gatherings or outdoor parties. These small details can impress guests without adding much extra prep time!
Ingredients
Ingredients
Gather the following ingredients to make these delicious Frozen Yogurt Cookie Cups:
For the Cookie Crusts
- 1 cup all-purpose flour
- 1/2 cup granulated sugar
- 1/2 cup unsalted butter, softened
- 1/2 teaspoon baking powder
- 1/4 teaspoon salt
- 1 large egg
For the Yogurt Filling
- 2 cups vanilla yogurt
- 1/2 cup mixed fresh berries (strawberries, blueberries, raspberries)
- Optional: chocolate chips, sprinkles, or nuts for topping
Make sure to have all the ingredients ready before you start!
Instructions
Instructions
Follow these steps to create your tasty Frozen Yogurt Cookie Cups:
Preheat the Oven
Preheat your oven to 350°F (175°C). Grease a muffin tin or line it with muffin liners.
Prepare the Cookie Dough
In a bowl, cream together the softened butter and sugar until light and fluffy. Beat in the egg, followed by the flour, baking powder, and salt until well combined.
Shape the Cups
Scoop a tablespoon of dough into each muffin cup, pressing it down to form a cup shape. Ensure the edges are a bit thicker for support.
Bake the Cookie Cups
Bake in the preheated oven for about 10 minutes or until the edges are lightly golden. Let them cool completely in the pan.
Fill with Yogurt
Once cooled, remove the cookie cups from the tin and fill each with vanilla yogurt. Top with your choice of fruits or other toppings.
Freeze and Serve
Freeze the cups for at least 1 hour before serving to ensure they hold together. Enjoy your delicious Frozen Yogurt Cookie Cups!
These cups are best served cold and can be stored in the freezer for a longer duration.
Pro Tips
- Feel free to swap out the vanilla yogurt for any other flavor you enjoy! Ensure to adjust the toppings according to your preferences.
Ingredient Substitutions
If you're looking to make these cookie cups gluten-free, you can easily substitute the all-purpose flour with a gluten-free blend designed for baking. Just be sure to check the blend's texture and flavor hints, as some may require adjustments like adding an extra egg for moisture. Additionally, if you have dairy sensitivities, consider using coconut yogurt or a plant-based yogurt alternative, which can also provide a similar creamy texture.
For those who prefer a lower-fat option, consider Greek yogurt as the filling; it has a thicker consistency than regular yogurt and holds up well within the cookie cups. This can also add extra protein, making your treat a bit more satisfying.
Troubleshooting Common Issues
If your cookie cups are overly crumbly after baking, it could be a sign that the dough was too dry. This can happen if the butter wasn’t sufficiently creamed or if the flour was measured without being spooned and leveled. To fix this in future batches, make sure to compress the flour lightly into the measuring cup for accuracy.
If your yogurt filling seems runny after adding fruits, consider straining the berries to remove excess moisture before mixing them into the yogurt. This not only prevents sogginess but enhances the overall flavor concentration in each cup. A solid, firm yogurt base will contribute to a cleaner presentation and structure.
Questions About Recipes
→ Can I use gluten-free flour?
Absolutely! Substitute the all-purpose flour with a gluten-free blend, and the cookie cups will turn out just as delicious.
→ How long can I store these in the freezer?
You can store the cookie cups in an airtight container in the freezer for up to 2 weeks and enjoy them whenever you like!
→ What other toppings can I use?
The options are limitless! Some great alternatives include crushed nuts, granola, mini chocolate chips, or even a drizzle of honey.
→ Can I make the cookie cups ahead of time?
Yes, you can prepare the cookie cups a day in advance, then fill with yogurt and freeze when you're ready to serve.
Frozen Yogurt Cookie Cups
Created by: The Anna's Tasty Table Team
Recipe Type: Sweet Cravings Bakery
Skill Level: Easy
Final Quantity: 12 servings
What You'll Need
For the Cookie Crusts
- 1 cup all-purpose flour
- 1/2 cup granulated sugar
- 1/2 cup unsalted butter, softened
- 1/2 teaspoon baking powder
- 1/4 teaspoon salt
- 1 large egg
For the Yogurt Filling
- 2 cups vanilla yogurt
- 1/2 cup mixed fresh berries (strawberries, blueberries, raspberries)
- Optional: chocolate chips, sprinkles, or nuts for topping
How-To Steps
Preheat your oven to 350°F (175°C). Grease a muffin tin or line it with muffin liners.
In a bowl, cream together the softened butter and sugar until light and fluffy. Beat in the egg, followed by the flour, baking powder, and salt until well combined.
Scoop a tablespoon of dough into each muffin cup, pressing it down to form a cup shape. Ensure the edges are a bit thicker for support.
Bake in the preheated oven for about 10 minutes or until the edges are lightly golden. Let them cool completely in the pan.
Once cooled, remove the cookie cups from the tin and fill each with vanilla yogurt. Top with your choice of fruits or other toppings.
Freeze the cups for at least 1 hour before serving to ensure they hold together. Enjoy your delicious Frozen Yogurt Cookie Cups!
Extra Tips
- Feel free to swap out the vanilla yogurt for any other flavor you enjoy! Ensure to adjust the toppings according to your preferences.
Nutritional Breakdown (Per Serving)
- Calories: 150 kcal
- Total Fat: 7g
- Saturated Fat: 4g
- Cholesterol: 20mg
- Sodium: 90mg
- Total Carbohydrates: 20g
- Dietary Fiber: 1g
- Sugars: 10g
- Protein: 3g